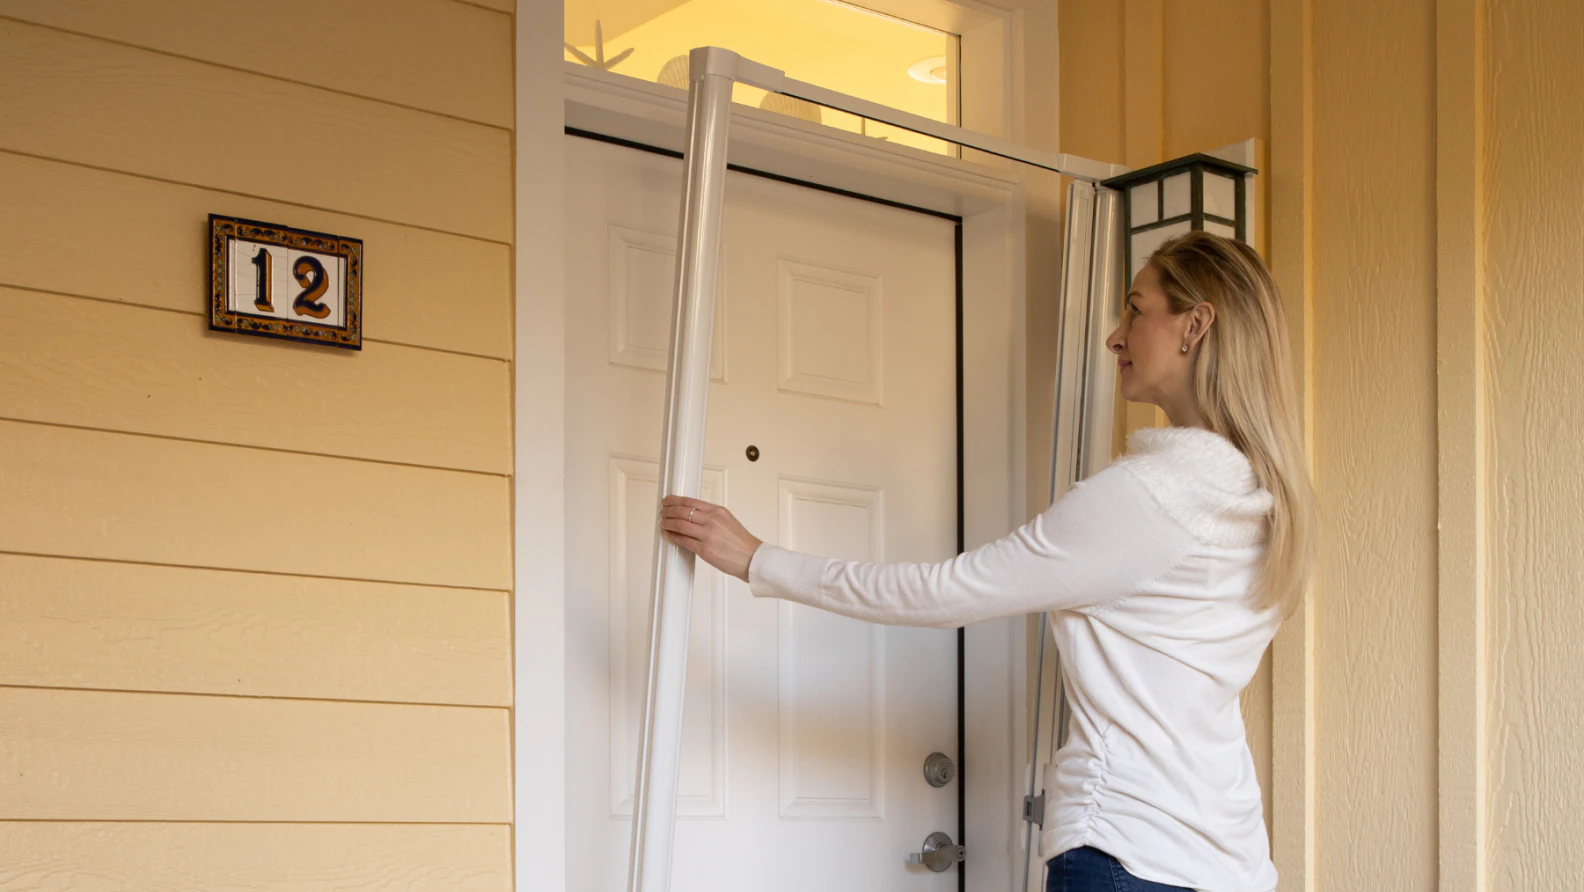
A screen door allows fresh air and sunlight into your home. It keeps insects out and gives an extra layer of security. In this guide, learn how to install and replace doors specially a screen door.
Table of Contents
A complete guide to Install and replace doors
Tools and Materials
Tools
Materials
- New screen material
- Screen Spline
- Replacement rollers
- J hook
- Lubricant for rollers
Types of Screen Doors
There are 3 main types of screen doors:
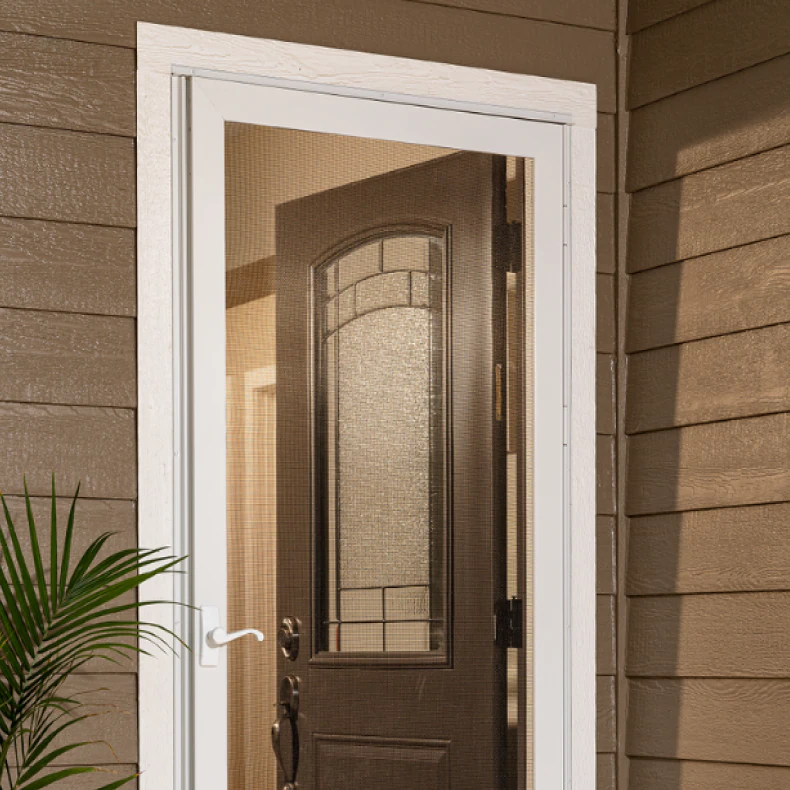
Hinged Screen Door
Hinged screen doors are typically made of wood, aluminum or steel. They are well known for their safety and durability, as well as their ability to seal tightly against the doorframe.
How to Install a Hinged Screen Door
> Check the measurements of the screen door by dry fitting it in the door frame.
> Check the handle placement to ensure that the handle and latch for the screen door do not interfere with the main door’s handle.
> Put the handle on the same side as the main door if nothing is in the way. If something is blocking it, put the handle on the other side.
> Keep a distance of 7” from the top of the door and 11” from the bottom for the placement of the hinge and mark it.
> Drill pilot holes and attach the hinges to the door frame with the screws.
> Open and close the door a few times to check if it works properly.
Sliding Patio Door Screens
Sliding door screens are typically made of aluminum, vinyl or wood. They are easy to use and don’t take up much space. They’re also low maintenance and affordable.

How to Install a Sliding Door
> Slowly lift the top part of your sliding screen door with the wheels and fit it into the upper track.
> Use your putty knife or screwdriver to lift the lower wheels over the bottom track.
> If the wheels don’t go up, use the screwdriver to adjust them by turning the screw. Then, slide the wheels and the bottom part into place.
> Use lubricant for rollers on the bottom track and wheels for smooth sliding.
> Set J-hook for latch. You will need the drill, the J-hook, and screws.
> Find where the metal latch is on the door frame and make a mark. Then, decide where to put the J-hook and mark that spot too. Finally, use screws to attach the J-hook to the marked spot.
> Test the screen door to make sure everything works.
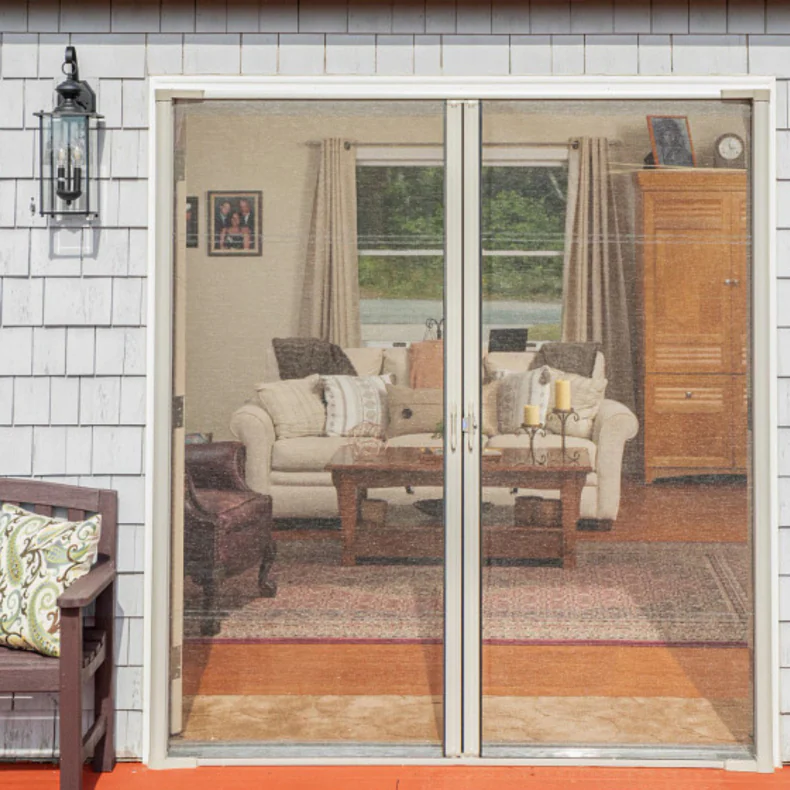
Retractable Screen Doors
Retractable screen doors are a new kind of door with a screen that rolls up. They are usually made of metal. These screen doors retract or nearly disappear into the doorframe when they are closed.
How to install a Retractable Screen Door
> First, attach the end piece to the boot body using screws. Then, slide the boot body over the top of the screen holder. Lastly, slide the top holder over the pull bar and adjust it.
> Install one mount clip 16 inches from the top of the door frame and another from the bottom. Secure the screen part to the mounting clips.
> Using pliers, compress the ends of the other side of the rail to hold the weather-stripping in place.
> When the bottom rail is ready for installation, position it onto the tab on the tape end cap.
> Attach the top guide rail to the tab of the boot body.
> Slide the rail at an angle behind the bottom guide rail and slide the side of the door into the top section, ensuring that it fits firmly against the upright part of the door frame.
> Using a pile opener, install screws on the top and bottom of your door to secure the screen door frame.
> Finally, tighten all the screws in the retainer and the screen door is ready.
Storm Doors ( Optional )
Storm screen doors are designed to provide extra protection in areas with harsh weather conditions. These doors are typically made of aluminum and even come with locking mechanisms.
How To Install a Garage Door Opener
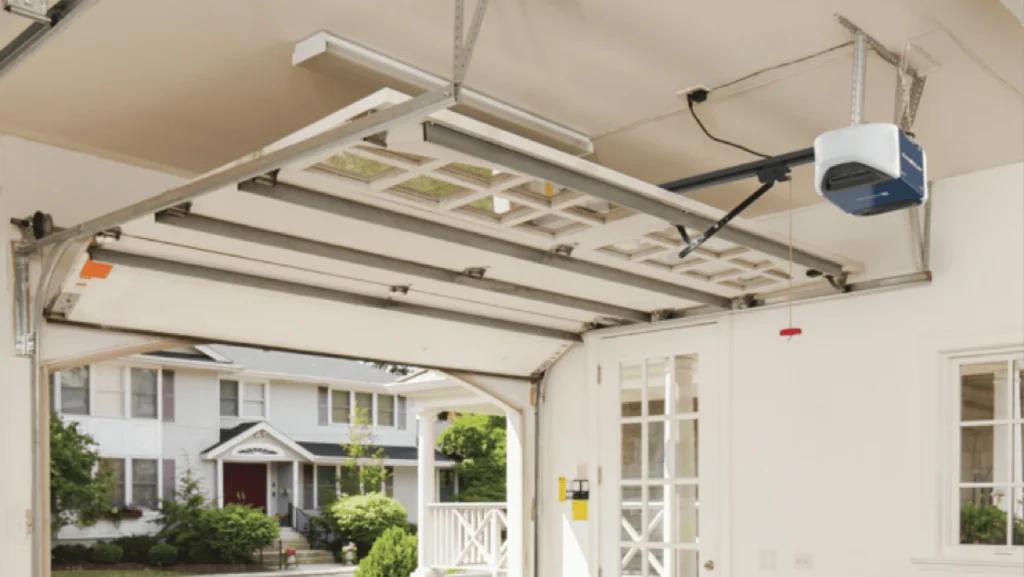
Garage door openers are electric devices that help to upgrade the accessibility and security of your house. They are usually connected to a switch on the wall or have a remote that controls the activity. This step-by-step guide will walk you through the entire installation process.
Tools and Materials
Tools
Materials
- Screws
- Lock washer
- Bolt
- Ceiling joists
- Nut
Types of Garage Door Openers
There are two popular types of garage door openers:
Belt Drive Garage Door Opener
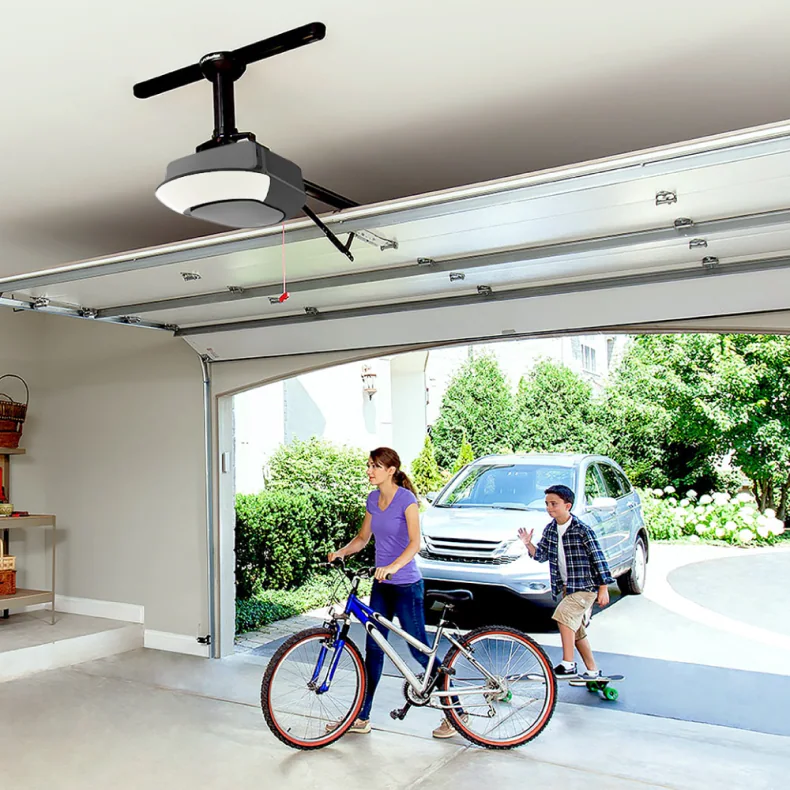
Belt drive garage openers use a rubber belt to open the garage door. It moves a trolley along the rail that connects the garage door to the opener. The belt drive is smoother and quieter since it uses a rubber belt. They are also low maintenance which makes it ideal for homes with an attached garage.
Chain Drive Garage Door Opener
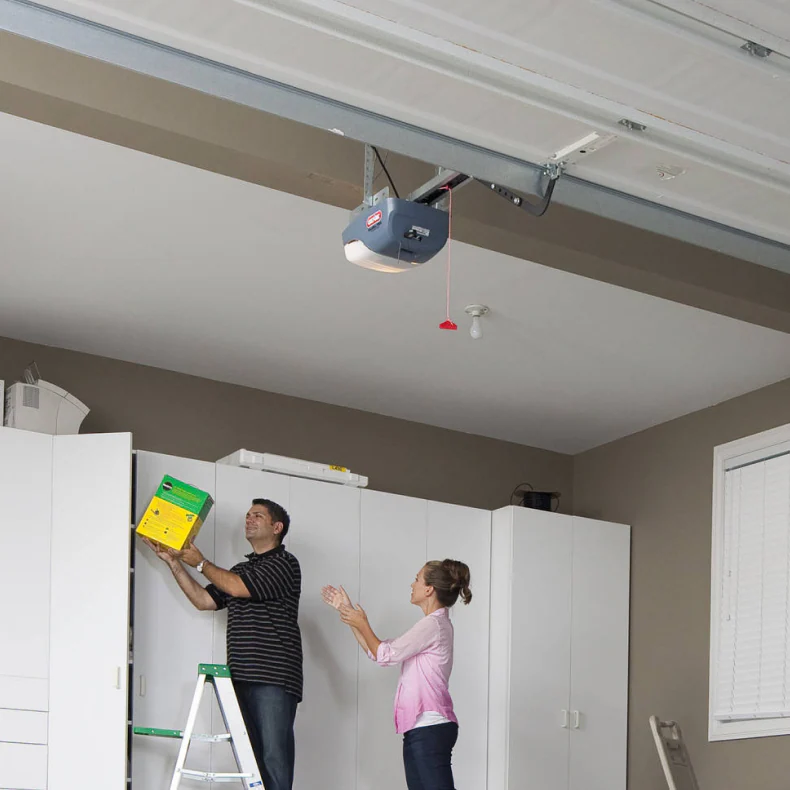
Chain driven garage door openers operate using a metal chain to move the door. These openers are typically the most budget-friendly option available. However, the metal chain opener is loud and best suited for detached garages.
How to Install a Garage Door Opener
Safety Tip:
Step 1: Install Rail and Attach Idler Pulley
> The rail is a track that connects one end to the motor unit and the other to the door.
> The idler pulley is a wheel that helps your garage door move up and down. Place the idler pulley in the slot on the rail.
> Then, use a bolt, lock washer, and nut to tighten the pulley securely in place. The bolt in an idler pulley helps to attach the pulley to its mounting position.
Step 2: Install the Belt
> Place the belt over the idler pulley.
> The trolley connector at the end of the belt will hold the trolley on the track. Make sure it’s in the right place.
Step 3: Attach the Trolley
> The trolley is the part that slides on the rail and makes the door move up and down. Keep it pointed in the upward direction.
> Then, attach the bracket to the top of the motor unit with screws.
> Attach the rail to the bracket with bolt and nut.
Step 4: Install Garage Door Header
> Nail the header bracket to the garage door in the centre just above the door opening.
> Attach the opener bracket to the header.
Step 5: Install Garage Door Motor
> Measure the distance between the garage door end of the rail and the planned spot of the motor unit on the garage ceiling. Make sure the rail is perpendicular to the garage door.
> Carefully install ceiling joists perpendicular to the garage door and attach the ceiling braces to it parallelly to the garage door.
> Attach steel supports to the braces using screws.
> Position the ladder below the planned stop and attach the motor unit with bolts to the steel support.
Step 6: Connect the Door Arm to Trolley
> Put the bracket and header together and attach the rail to it.
> The door arm is the L-shaped metal frame that links the garage door to the rail-mounted trolley.
> For free movement, connect the door arms with bolts.
Step 7: Test it
> Attach the wiring to the ceiling surface and attach the end of the wire to the motor unit.
> Switch on the garage door remote to activate the unit.
Install A Door Viewer
Increase security by adding a door viewer.
Instructions
There are different types of door viewers. For narrow smaller areas consider a 160-degree viewer.
For large porches consider a 180-200 degree viewer, with a knocker to add some accent. To begin you will need door viewer, drill, screwdrivers and silicone sealant.
> Shop Entry Door Viewers > Shop Entry Door Knockers > Shop Entry Door Hardware
Instructions
Step 1
Determine a height that is comfortable for your family.
Step 2
Marking where the door viewer goes.
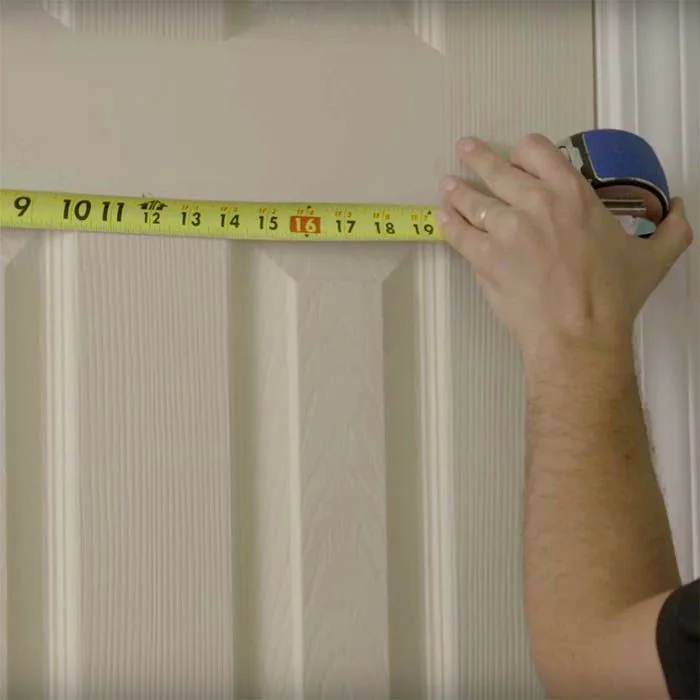
Mark where you will be mounting the door viewer.
Step3
Drill a pilot hole for the door viewer, then drill the actual hole.
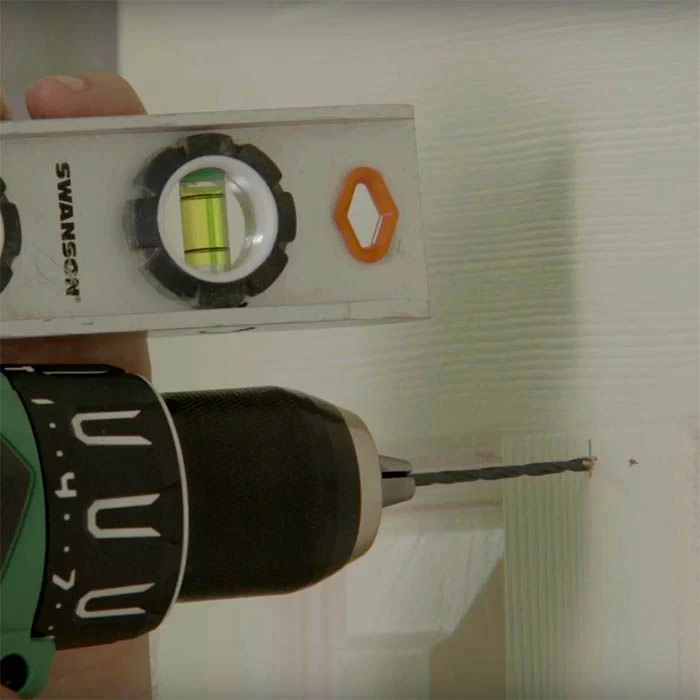
Check out our DIY Basics video on how to drill a pilot hole.
Step 4
Insert the door viewer.
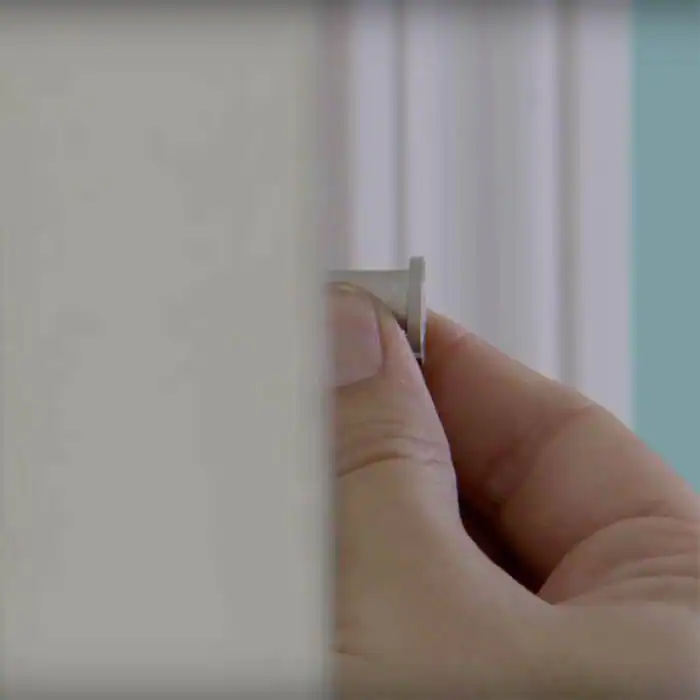
Step 5
This would be a good time to repaint your front door. Watch our DIY Basics video: How Do I Repaint My Front Door?

